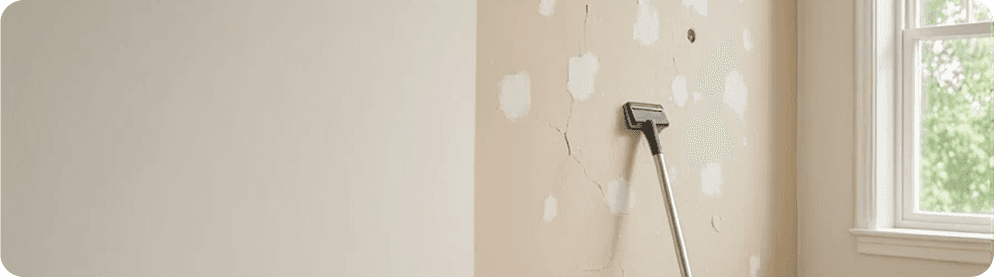
That doorknob punched through the wall looks like a straightforward fix. You pick up a drywall patch kit from the hardware store, watch a fifteen minute tutorial, and figure an hour of work will make the damage disappear. It seems like anyone with basic handy skills can make a wall look like nothing ever happened.
But when it comes to drywall repairs, there is a massive difference between a patch that covers the hole and one that becomes completely undetectable.
Before you mix that first batch of compound, it is important to understand why professional drywall repairs truly disappear into the surrounding surface and why DIY attempts usually leave behind "ghost" patches that catch the eye forever.
1. The cutting and preparation foundation
Most DIY repairs fail before the compound even touches the wall. The initial hole preparation determines whether the repair blends seamlessly or remains permanently visible.
- The DIY reality: you cut a rough circle around the damage, shove a patch in, and start mudding. The irregular shape, jagged edges, and lack of proper backing create weak spots that crack, bubble, or show through paint as obvious rectangles.
- The professional alternative: a proper repair starts with precise square or rectangular cuts using a drywall saw or razor knife. The damaged area is removed entirely, creating clean edges that accept new drywall with tight seams. Proper backing either wood strips or commercial repair clips provides solid support for the new piece. This foundation prevents future movement and cracking.
2. The taping technique that makes or breaks the repair
The difference between amateur and professional repairs lies in the taping. This step bridges the gap between old and new drywall, creating a continuous surface ready for finishing.
Professional drywallers follow specific rules:
- Use paper tape for corners and tapered joints, mesh for flat repairs.
- Apply just enough mud to embed the tape without creating excess buildup.
- Feather edges outward far beyond the repair zone.
- Allow proper drying time between coats.
Rushing this step creates visible ridges, air bubbles under tape, or "mud rings" where the patch meets the existing wall. These imperfections become painfully obvious once paint and lighting hit the surface.
3. The feathering and sanding secret
Here is where most repairs become permanently visible: inadequate feathering. The transition from repair to existing wall must be so gradual that light and shadow cannot detect any change in plane depth.
Achieving this requires:
- Each compound layer extending further beyond the previous one.
- Final sanding with proper grit progression (typically 120 to 150 grit).
- Angled lighting inspection from multiple directions.
- Filling and re-sanding pinholes and imperfections.
The goal is not just to fill the hole, but to recreate the subtle texture and light reflection properties of the surrounding drywall surface.
4. The priming and painting factor
Even a perfectly compounded and sanded repair will stand out if the painting is not approached correctly. Existing wall paint has aged, accumulated slight variations, and developed a sheen that fresh paint cannot instantly match.
Invisible repairs require:
- Priming the patched area with a quality drywall primer.
- Feathering the paint beyond the compound work.
- Blending techniques on the final topcoat.
- Understanding sheen matching between old and new paint.
This is why professional painters often suggest repainting entire walls from corner to corner because perfectly blending a localized repair requires skills that take years to master.
The anatomy of a perfect repair
A flawless drywall repair follows a specific percentage breakdown: 40% preparation and cutting, 30% taping and mudding, 20% sanding and feathering, and 10% painting and blending. Rush any percentage, and the repair becomes visible.
The verdict: walls that tell no stories
When you look at the true cost of ceiling flattening, you are not just accounting for scraping time. You must consider the dust containment, specialized equipment, repair materials, skim coating expertise, and the reality that a halfway done ceiling actually hurts your home's value.
Investing in professional popcorn removal and ceiling refinishing delivers a smooth, modern ceiling that becomes an asset rather than an eyesore. It transforms your space, increases perceived room height, and creates a clean backdrop that showcases the rest of your interior design.